
Mounting an EV Charger: What to Know First

Los Angeles Office Charging for EV-Ready Workplaces
September 18, 2026
How to Calculate EV Load Requirements Safely
September 14, 2026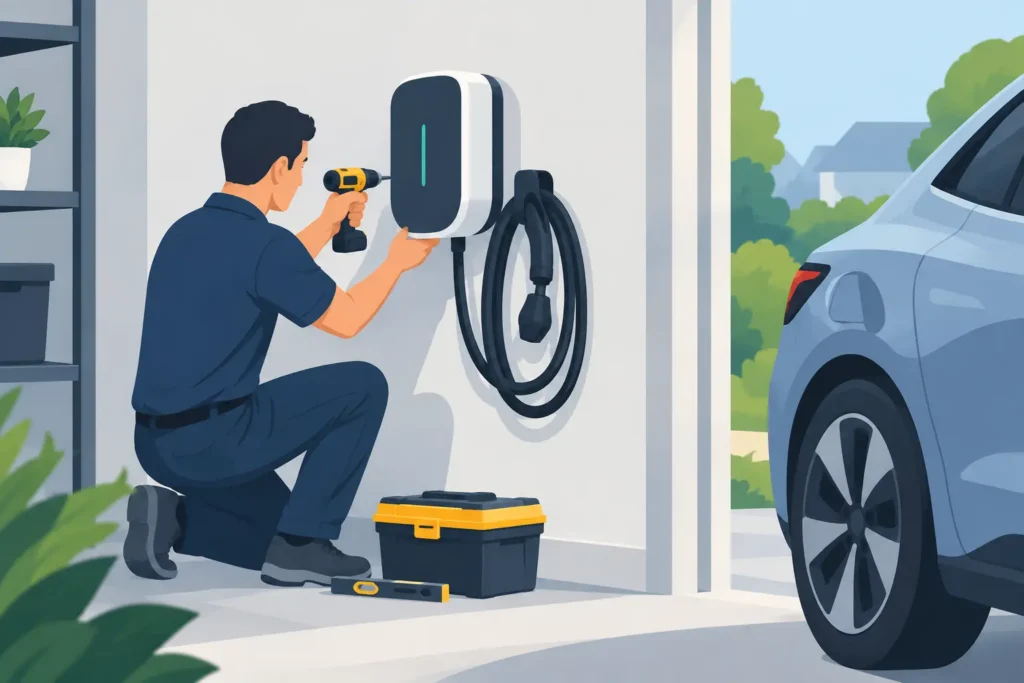
A charger mounted in the wrong spot can turn every arrival home into a small inconvenience: a cable stretched across the garage, a vehicle that blocks access, or a charging handle exposed to avoidable damage. Mounting an EV charger is not simply a matter of attaching equipment to a wall. The best installation starts with the way you park, the electrical capacity of the property, and the requirements that apply to your home or building.
For most EV owners, a professionally installed Level 2 charger is the practical answer to faster, more dependable daily charging. It can add substantially more range per hour than a standard household outlet, allowing you to plug in after work and start the next day ready to drive. The details of where and how it is installed determine whether that convenience lasts.
Start With the Parking Space, Not the Charger
Before choosing a mounting location, look at where the vehicle actually sits. Measure the distance from the proposed charger location to the vehicle’s charge port with the cable routed naturally, not pulled tight. Charge-port placement varies by make and model, so a location that works perfectly for one vehicle may be awkward for another.
In a typical garage, the charger is mounted on a side wall near the front half of the parking space. This often keeps the cable accessible without creating a trip hazard near the garage door or walkway. If the vehicle will be backed in, the ideal position may change. A qualified installer can help identify the cleanest route before any equipment is purchased or mounted.
Outdoor locations need additional thought. The charger should be rated for the environment, positioned where the connector is protected from impact, and mounted at an appropriate height. A driveway installation may require a pedestal instead of a wall mount if there is no suitable structure nearby. Pedestal mounting adds flexibility, but it can also require trenching, concrete work, and additional planning for the electrical run.
Avoid treating cable length as the solution to a poor location. Extra cable can be helpful, especially for households with more than one EV, but excessive slack creates clutter and can wear on the connector over time. A convenient mounting point paired with proper cable management is a better long-term setup.
Electrical Capacity Determines What You Can Install
The charger is only one part of the system. Your electrical panel, the available capacity in the service, the length of the wiring run, and the charger’s selected output all affect what can be installed safely.
Many homeowners want the highest available charging speed, but more power is not automatically the best choice. A charger may be capable of 48 amps, for example, while the property may be better suited for a lower-output configuration. The right answer depends on a load calculation performed by a licensed electrician. This calculation accounts for the property’s existing electrical demand, including major appliances, air conditioning, and other permanent loads.
A lower-amp Level 2 installation can still be an excellent daily charging solution. If your vehicle is parked overnight for eight to ten hours, you may not need the maximum possible output to recover your normal commute. Choosing the appropriate charging rate can reduce installation complexity while providing the convenience you expect.
When panel capacity is limited, there are several possible paths. A panel upgrade may be appropriate for some homes, particularly when the existing panel is older or already full. In other cases, energy management equipment can help coordinate electrical loads without requiring a full service upgrade. The best option depends on the property, your current electrical use, and future plans such as adding a second EV or electric appliances.
Hardwired or Plug-In: Choose for the Right Reasons
Most Level 2 chargers are installed either as a hardwired unit or through a dedicated receptacle. Both approaches can work well when installed correctly, but they serve different needs.
A hardwired charger is permanently connected to its dedicated circuit. It can support higher charging outputs on compatible equipment and removes the receptacle from the connection point. For many homeowners, it is a clean, durable choice with fewer exposed components.
A plug-in charger uses a properly rated receptacle, commonly selected when the owner wants the flexibility to take the charger when moving or replace it easily later. The receptacle, wiring, and circuit protection must all be sized for continuous EV charging. This is not a place for a standard outlet or an extension cord.
Your vehicle and charger manufacturer requirements matter as well. Tesla Wall Connectors, universal chargers, and other EV charging products have different installation instructions and features. A professional installer can confirm compatibility, configure the circuit correctly, and make sure the setup supports the charging capability you intend to use.
Permits and Code Requirements Protect the Installation
An EV charger installation is typically a permitted electrical project. Permitting can feel like an extra step, but it provides an important layer of protection. It verifies that the circuit, overcurrent protection, wiring method, grounding, mounting, and equipment location meet applicable electrical requirements.
In Los Angeles County, requirements can vary by city and property type. A licensed local contractor can coordinate the permit process and schedule required inspections, reducing the chance of delays or unexpected corrections after the work is complete.
Do not assume a previous outlet, spare breaker space, or existing garage wiring is automatically suitable for EV charging. EV chargers are considered continuous loads because they can run for hours at a time. The electrical system must be designed accordingly. A dedicated circuit is generally required, and the installation needs to match the charger’s specifications and local code.
Mounting an EV Charger in Condos and Shared Properties
Condo owners, tenants, and property managers have an added layer of coordination. The parking space may be assigned, but the electrical room, garage walls, common areas, and utility infrastructure are often controlled by an HOA or property owner.
The first question is usually where the electricity will come from and who will pay for it. A charger connected to a resident’s own meter may be straightforward in some buildings, while others need submeters, networked charging equipment, or a shared billing arrangement. The physical installation may also involve long conduit runs, fire-rated assemblies, access approvals, and coordination with building management.
For multifamily properties, it is worth planning beyond the first charger. Installing a single circuit without considering future demand can make later expansion more expensive. A phased approach may include electrical capacity planning, conduit pathways for future stations, and load management that allows multiple vehicles to charge without overbuilding the service on day one.
Workplaces and fleet sites face similar decisions at a larger scale. Charging schedules, driver dwell time, access control, and the number of vehicles expected to charge at once should guide the design. More chargers are not always better if the available power is not managed intelligently.
What a Professional Installation Process Looks Like
A well-run installation should be clear from the start. The process begins with information about your vehicle, charger preference, electrical panel, parking area, and photos of the proposed location. In many cases, an experienced EV charging specialist can provide an upfront quote without an in-person visit, then confirm site conditions before installation.
Once the scope is set, the installer determines the circuit size, route for wiring or conduit, mounting method, and permit requirements. On installation day, certified electricians mount the charger or pedestal, install the dedicated electrical circuit, make the final connections, and test the equipment. They should also show you how to operate the charger, manage the cable, and use any connected-app features.
The visible charger is the final detail, but the work behind the wall matters just as much. Properly secured equipment, protected wiring, correctly sized breakers, and a clean routing path all contribute to a safe installation that looks like it belongs on the property.
Factors That Affect Installation Cost
The biggest cost driver is usually the distance between the electrical panel and the charger location. A short, accessible run inside a garage is typically simpler than routing conduit across a large property, through finished walls, or underground to a detached parking area.
Panel upgrades, trenching, pedestal foundations, difficult access, permit fees, and electrical capacity improvements can also affect the final price. That is why a low initial number without a clear scope can be misleading. Transparent pricing should explain what is included and identify any site-specific work that may be necessary.
It is also worth asking about available utility incentives or rebate programs. These programs change over time and may have specific equipment, permit, or application requirements. Administrative support can make it easier to pursue savings without missing a required step.
A charger should feel effortless once it is installed: park, plug in, and let the vehicle charge while you handle the rest of your day. Taking time to choose the right location and having the electrical work completed by qualified professionals is what makes that simple routine possible.


