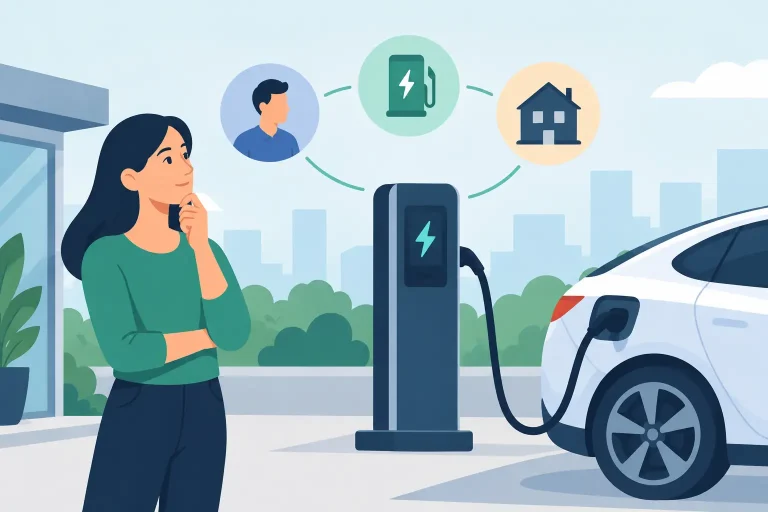
Your charger installation timeline can be as short as a few hours or extend for several weeks. The difference usually comes down to your electrical panel, the distance to the parking space, and whether permits or property approvals are required. A qualified EV charger installer can identify those factors early, so you know what to expect before installation day arrives.
For many single-family homes, the process moves quickly: get a quote, confirm the charger and electrical scope, schedule the work, and begin charging. Condos, apartment communities, workplaces, and fleet sites often take longer because more people need to approve the plan.
A Typical Charger Installation Timeline
Step 1: Quote and initial assessment – often the same day
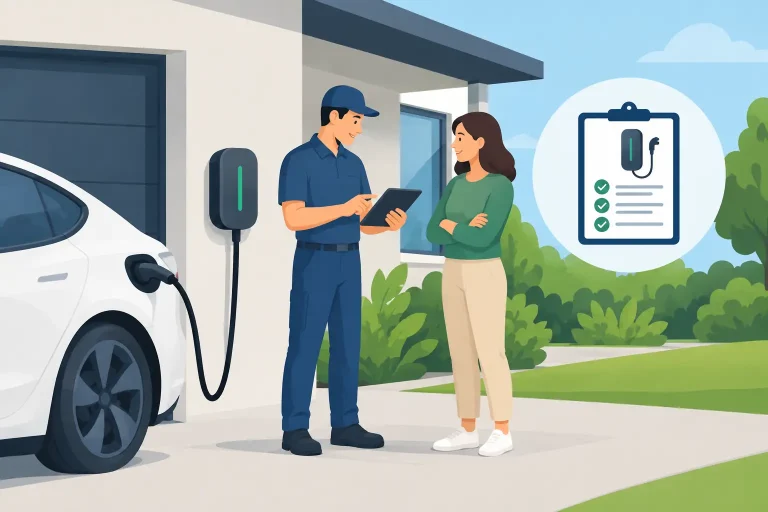
The first step is determining what your property needs. With clear photos and a few details about your existing electrical equipment, an experienced installer can often provide pricing without an in-person visit. Helpful information includes a photo of the electrical panel, the location where you park, the distance between them, and the vehicle or charger model you plan to use.
At this stage, the installer reviews whether a Level 2 charger is practical, what amperage may be available, and whether the charger should be hardwired or plugged into a 240-volt outlet. A standard installation may receive a fast, straightforward quote. If the panel appears full, the charger is far from the panel, or the wiring route is difficult to access, the scope may need a closer review.
For homeowners with a conventional panel and an attached garage, this step can take minutes. For a large commercial site, it may involve load calculations, site plans, and a walkthrough before final pricing is confirmed.
Step 2: Charger selection and electrical planning – one to three days
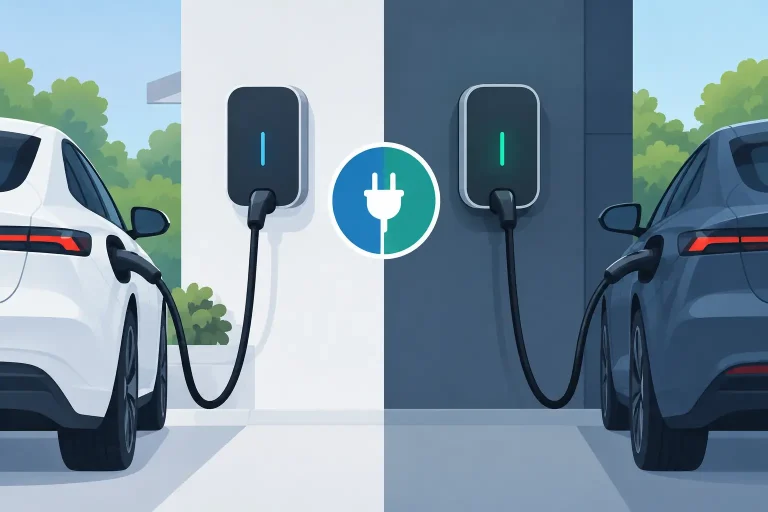
Once you decide to move forward, the charger and installation details are finalized. Tesla owners may choose a Tesla Wall Connector, while drivers with other EVs may select a J1772 or NACS-compatible charger based on their vehicle, future vehicle plans, and charging habits.
The right charger is not always the one with the highest advertised output. Your home’s available electrical capacity, the vehicle’s onboard charging limit, and how many miles you drive each day matter more. A properly sized Level 2 charger can easily replenish a typical daily commute overnight without pushing the electrical system beyond its practical limits.
This is also when the wiring path is planned. Running conduit along an accessible garage wall is generally faster and less expensive than routing wiring through finished walls, under concrete, across a long driveway, or to a detached structure. Good planning avoids change orders and keeps the schedule predictable.
What Can Extend a Charger Installation Timeline?
Most delays are not caused by the charger itself. They come from the property infrastructure or the approval process around it. Knowing the common variables upfront helps prevent surprises.
Electrical panel upgrades
If your existing panel has adequate capacity and open space for a new dedicated circuit, installation can usually proceed without major electrical work. If it does not, the project may require a load-management solution, a subpanel, a main panel upgrade, or coordination with the utility.
A subpanel may add a few days, depending on equipment availability and permitting. A full service upgrade can take longer because it may require utility scheduling, inspection, and replacement of major electrical equipment. This is not a reason to delay getting a quote. It is a reason to have a licensed professional assess the condition and capacity of the system before making assumptions.
Permits and inspections
Many jurisdictions require a permit for a new 240-volt EV charging circuit. Permit processing times vary by city, and inspections are typically scheduled after the electrical work is complete. In some areas, permits are issued quickly; in others, review and inspection availability can add days or weeks.
A professional installer handles the required electrical work to code and can coordinate permit documentation and inspections. That support matters because permitting is not simply paperwork. It confirms that the circuit, breaker, wire size, grounding, and charger installation meet the applicable safety requirements.
HOA, condo, and landlord approvals
For condo residents and tenants, obtaining approval can be the longest part of the process. An HOA or property manager may need to review plans, confirm who pays for electricity, approve the route for conduit, and determine how common-area modifications will be handled.
Start the approval conversation early. Provide a clear installation proposal showing the charger location, electrical source, and any visible equipment. If the charger will serve an assigned parking space, the property decision-maker may also need to confirm access rights and maintenance responsibilities. These steps can feel administrative, but they protect everyone once the charger is in use.
Equipment availability and scheduling
Popular chargers and electrical components are generally available, but specialty equipment, panel upgrades, or multi-charger projects may require lead time. Scheduling can also vary during busy periods. Booking after the quote is approved gives your installer the best chance to reserve a convenient installation window.
For workplace, multifamily, and fleet projects, scheduling may need to accommodate parking access, business hours, tenant notices, or phased installation. A staged approach can keep operations moving while the charging infrastructure is built out.
What Happens on Installation Day?
For a straightforward home installation, the electrical work is commonly completed in one visit. The electrician installs a dedicated circuit from the panel to the charging location, mounts the charger or outlet, completes all required connections, and tests the system.
You should expect a brief power interruption if the electrician needs to work inside the main panel. The crew will also need safe access to the panel, the parking area, and the planned wire route. Moving vehicles and stored items before the appointment helps the work proceed efficiently.
After installation, the charger is tested to confirm it powers on and charges correctly. If your charger uses an app, you may be guided through connecting it to Wi-Fi and setting charge schedules. This is a good time to ask about everyday use, including cable storage, charging limits, and what to do if the charger displays an error.
If an inspection is required, the charger can sometimes be ready for use before the inspector visits, depending on local rules and the project’s scope. Your installer can explain the expected sequence for your location.
A Realistic Timeline by Property Type
A typical single-family home with available panel capacity and a simple garage installation may go from approved quote to completed work within several days, with the hands-on installation taking only a few hours. Permit requirements can add time, but the physical work remains relatively quick.
A home that needs a panel upgrade may take one to several weeks, especially if utility coordination is involved. The timeline is worth it when the upgrade improves the home’s electrical capacity for charging and future loads.
Condo and apartment installations often take several weeks or longer because approvals come before construction. The actual electrical work may still be completed quickly once the property manager, HOA, and permitting authority have signed off.
Commercial charging projects have the widest range. A small workplace installation with a few chargers may be completed in weeks. A fleet depot, large multifamily property, or public-facing charging site can require months of planning, electrical engineering, utility coordination, and phased construction.
How to Keep Your Project Moving
The fastest projects begin with complete information. Share accurate photos, disclose any known panel issues, and decide where you want to park and charge before requesting a quote. If you live in an HOA or rent your property, request written approval as soon as possible rather than waiting until installation is scheduled.
It also helps to be flexible about charger placement. A location close to the panel is often more economical, but it must still be convenient enough for daily use. The best solution balances installation cost, clean cable management, parking habits, and the electrical capacity available today.
Plug-in LA helps Southern California EV owners move from questions to a properly installed charging solution with licensed electrical work, upfront guidance, and support through the details that affect timing. The goal is not to rush past necessary safety steps. It is to remove avoidable delays so your charger is ready when you need it.
A clear plan at the start turns the charger installation timeline from an unknown into a manageable next step – and gets your vehicle charging at home with confidence.